Bike safety and comfort no doubt depend on elements of primary importance such as the saddle, wheels, frame size, clothing… but they can also depend on seemingly insignificant details, such as handlebar tape, for example.

Do-It-Yourself: applying the tape
How often does the tape be replaced?
Of course, handlebar tape doesn’t have a specific expiry date: it depends on the material of the tape, how often we use the bike and whether we want to make our bike look 'used'. In general, the tape should be replaced when it begins to lose elasticity, is no longer soft to the touch and no longer absorbs vibrations as it did when it was new.
At this point, let’s see how to replace it. It’s a simple job that can easily be done on your own: you simply need to follow a few tips and have a pinch of manual dexterity.
In any case, the bike needs to be still so it’s best to secure it to a stand, blocking the front wheel.
First of all, the old tape and any glue residue must be removed from the handlebar drops. Then the rubber control covers need to be lifted and turned, attaching two pieces of tape – normally included in the packaging – on the exposed parts of the brake body.
Now you can start to actually wrap the tape. Always start from the horns of the handlebar, leaving an extra ten or so centimetres of tape, which will eventually be folded inside the tube to secure the cap. Proceed by wrapping the spirals upwards and overlapping them, but no more than half the width of the tape to avoid running out of tape before completely covering the drops.
Taking advantage of its elasticity, the tape should be pulled well to guarantee better adhesion, but the most important thing is to respect the wrapping direction so as not to accidentally lift the tape with your hands while pedalling. That is to say it should always be applied in a clockwise direction on the right side and counterclockwise direction on the left side: just remember to always wrap in an outwards direction. Once you reach the end, simply cut off the excess tape and secure it with the appropriate tape.
Lastly, the caps need to be inserted at the ends of the horns: the strips of tape left loose at the start are needed to create volume and hold the caps in place.
Within its range, Selle Italia presents specific accessories for handlebars that make assembly easier and guarantee a safer and more comfortable ride in all situations.
In particular, we can highlight the Shock Absorber Kit and the Smart Tape.
Shock Absorber Kit
The Shock Absorber Kit provides a shock-absorbing and anti-vibration function very similar to the one performed by the human body, reducing hand and wrist discomfort caused by road stress. In addition, the special SG Tape, designed to be used in combination with Bar Pad, which has to be fixed under the tape, provides an extremely high level of grip and a particularly secure hold on the handlebars.
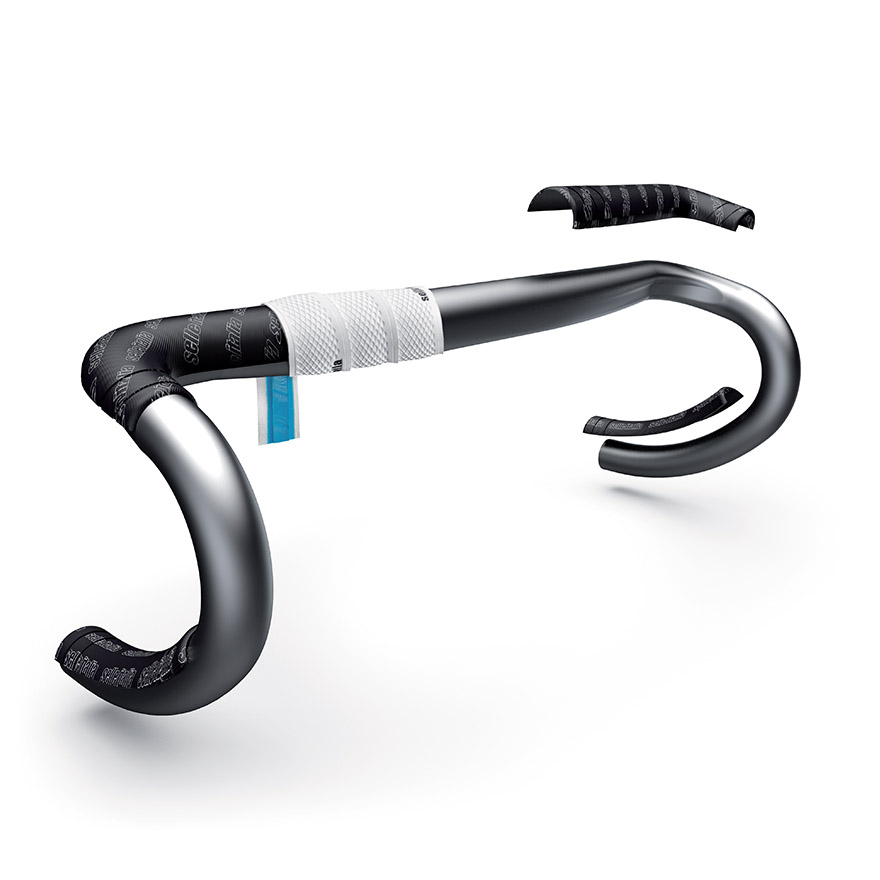
Smart Tape
Born from the optimized and efficient Greentech production process, the Smart Tape, entirely Made in Italy, is a 100% recyclable, pollutant-free and zero-waste product.
Furthermore, thanks to the absence of glue and the integrated endcap, the Smart Tape is extremely fast to mount and can also be easily removed and reused.